Hey all!
Lots of people struggle with sprite art.
That’s why I decided to make this handy dandy tutorial as how I like to draw my sprites. Keep in mind I’m making a spaceship game, not a platformer like most, but I hope you still learn some stuff!
This is a step-by-step guide that goes over how I draw all sprites for my game GALACDRIVE, big and small alike.
Step 0: draw it on paper
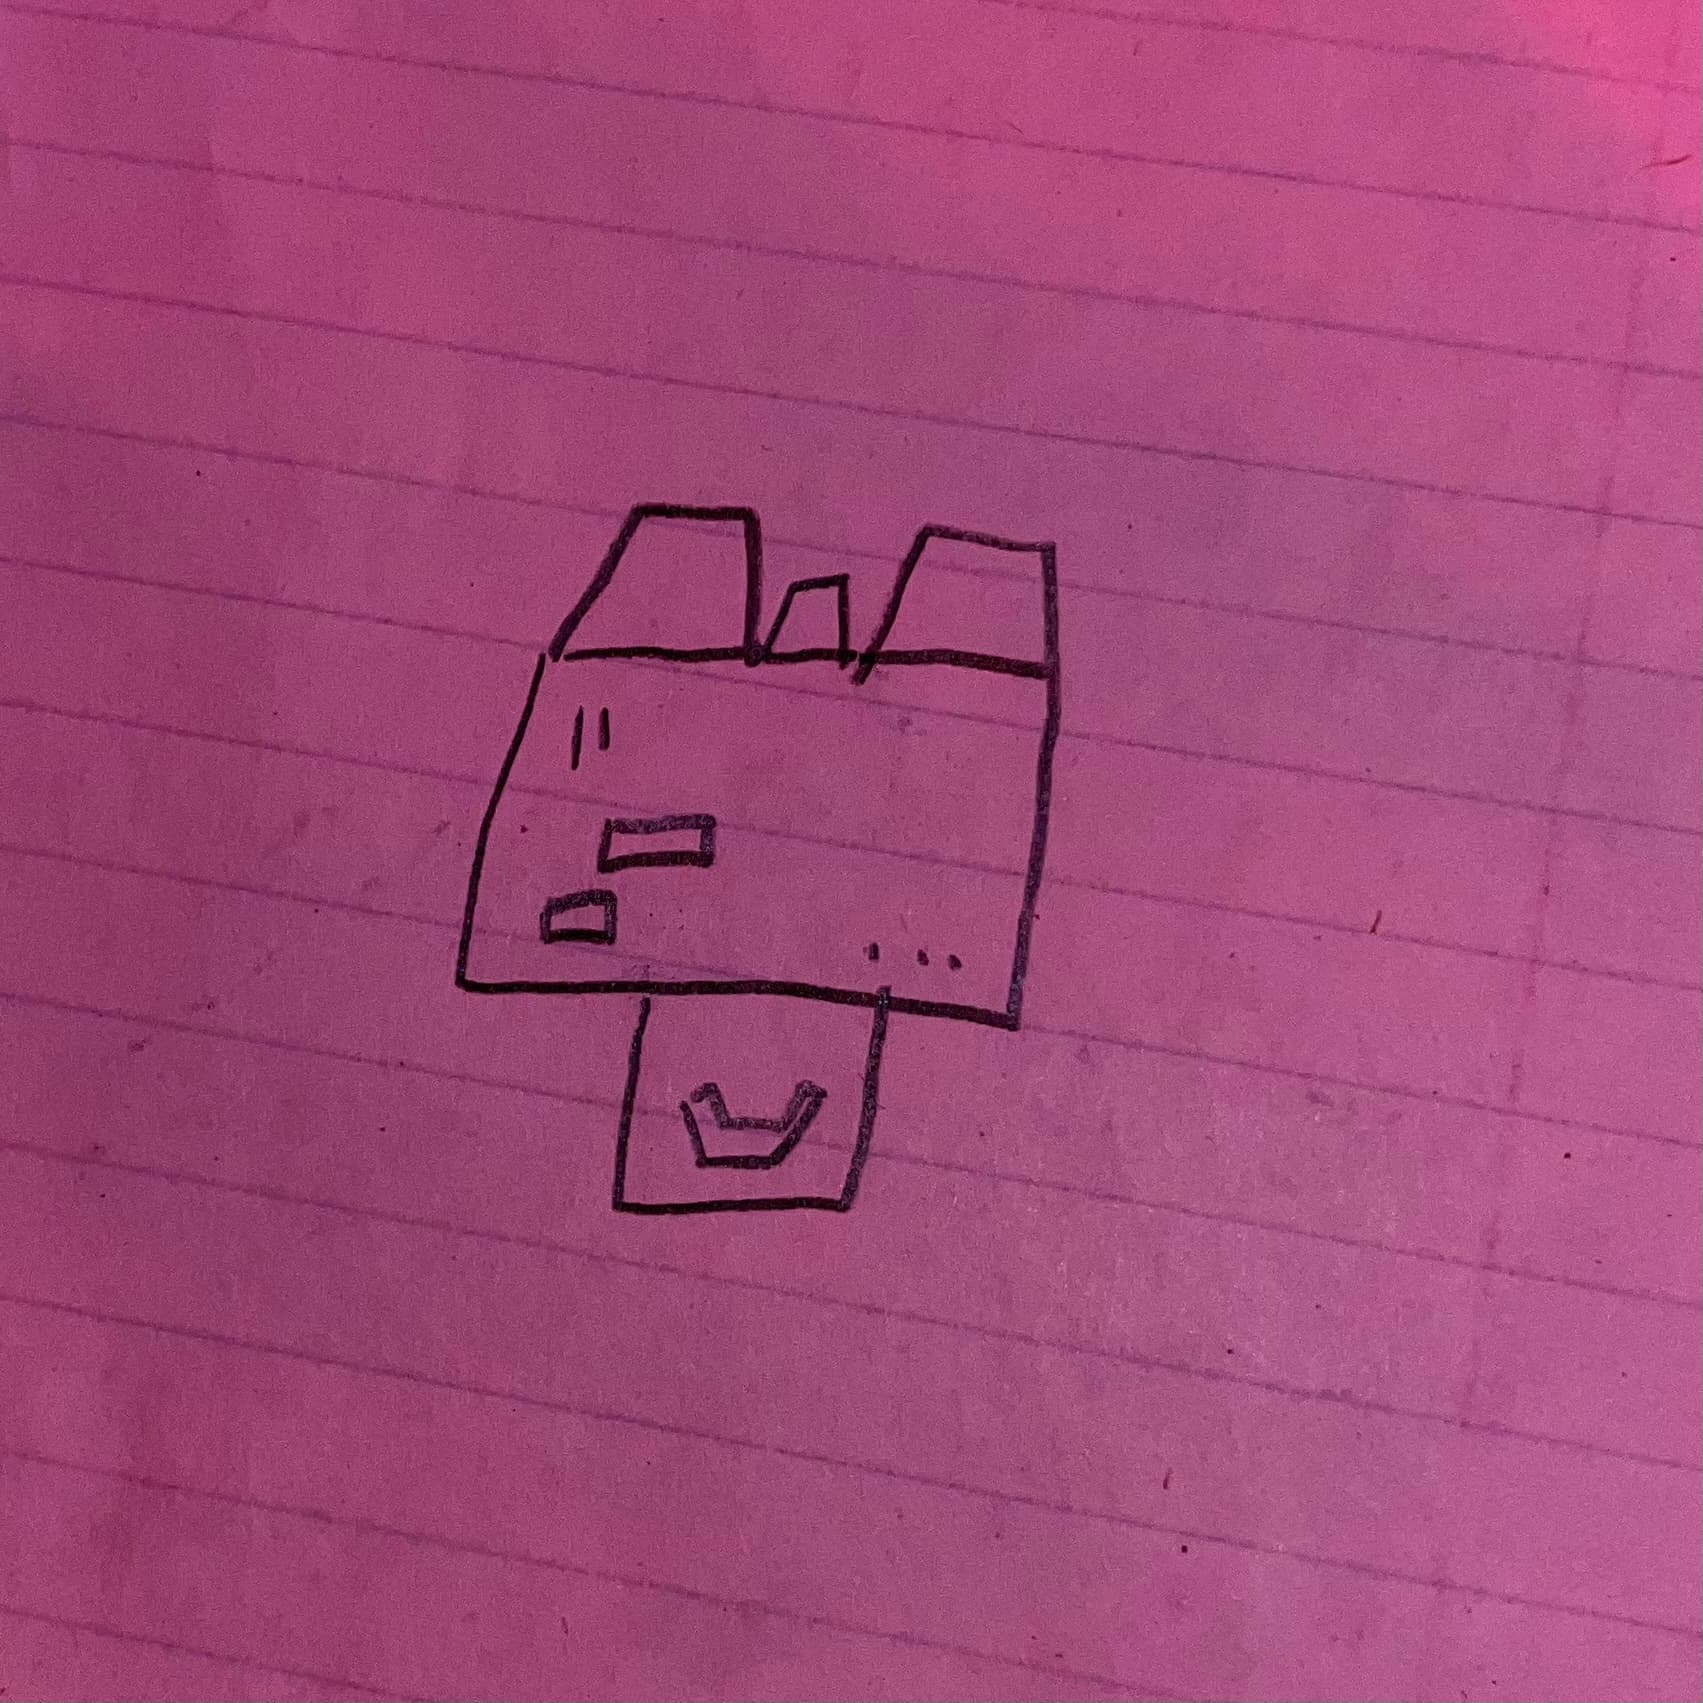
Yes yes, I can hear the groans from some in the crowd. But paper is a powerful tool - your brain isn’t the best at keeping track of an idea and a drawing helps solidify your idea. It doesn’t have to be good at all, just readable by you.
step 0.5: determine the size
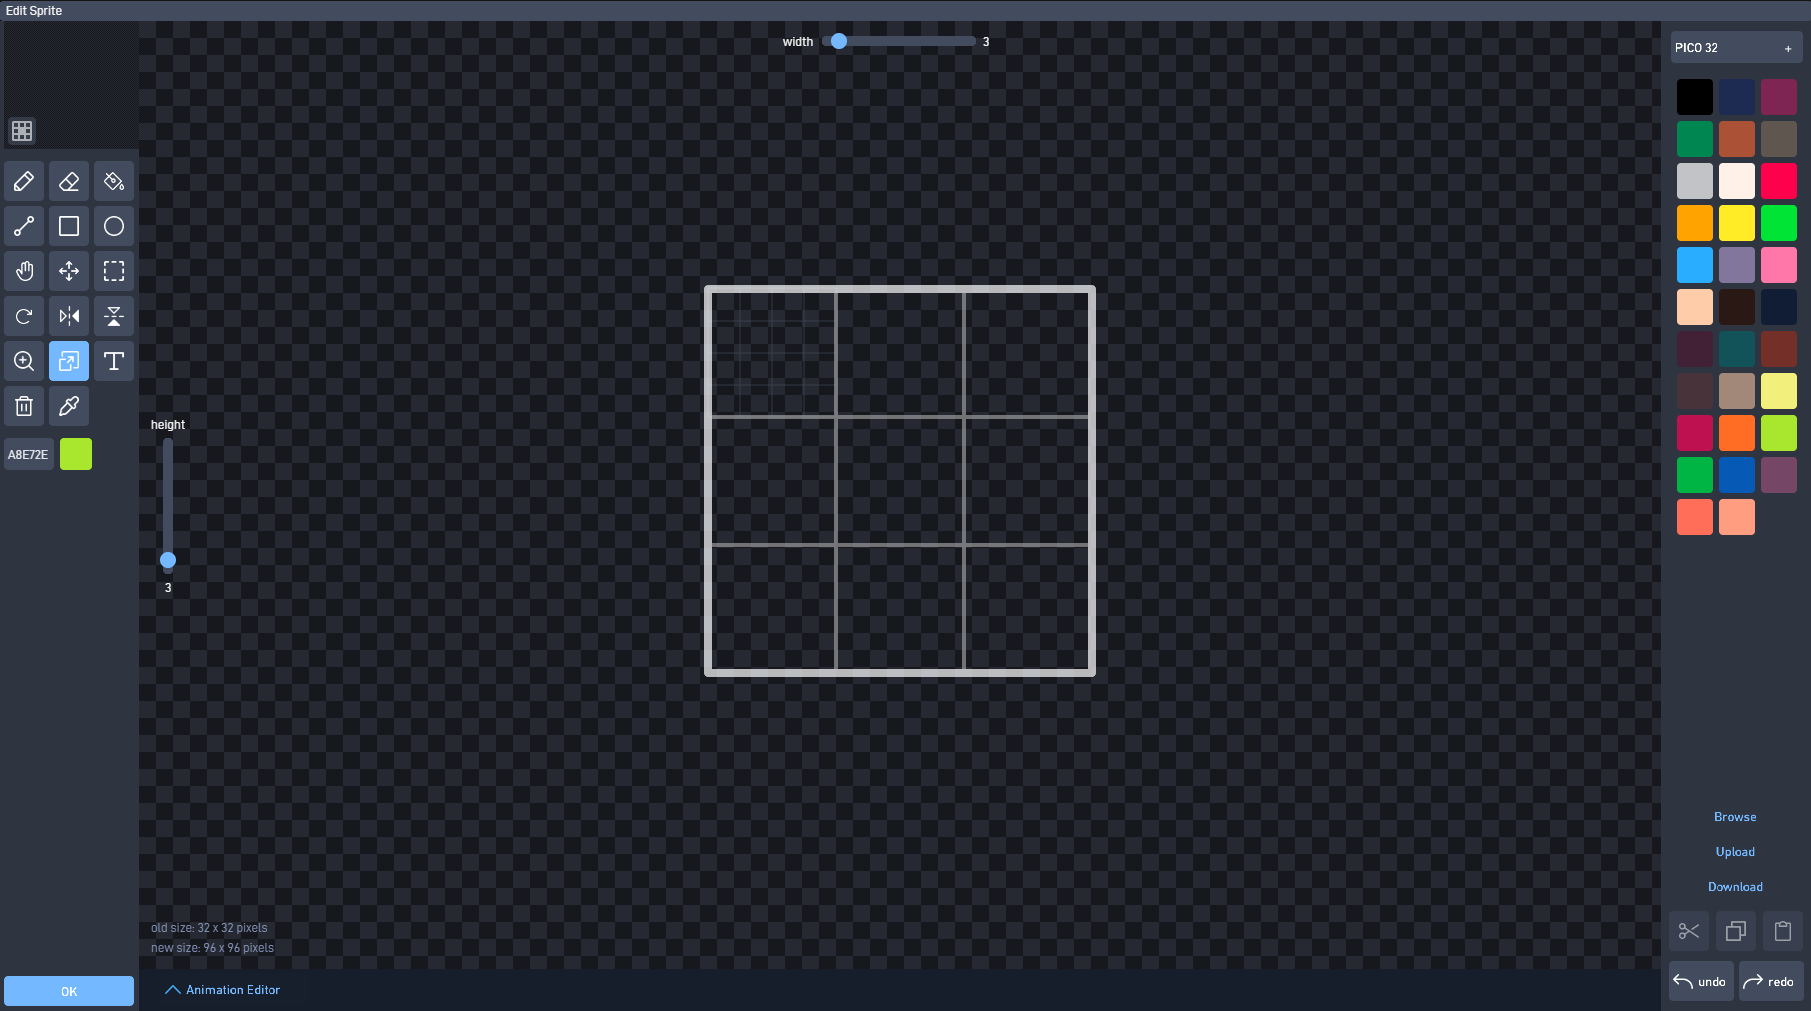
Again, more planning. This time, we ned to determine object size. It’s important to know the size of the object you want. It helps convey the mood the object in your game is trying to convey.
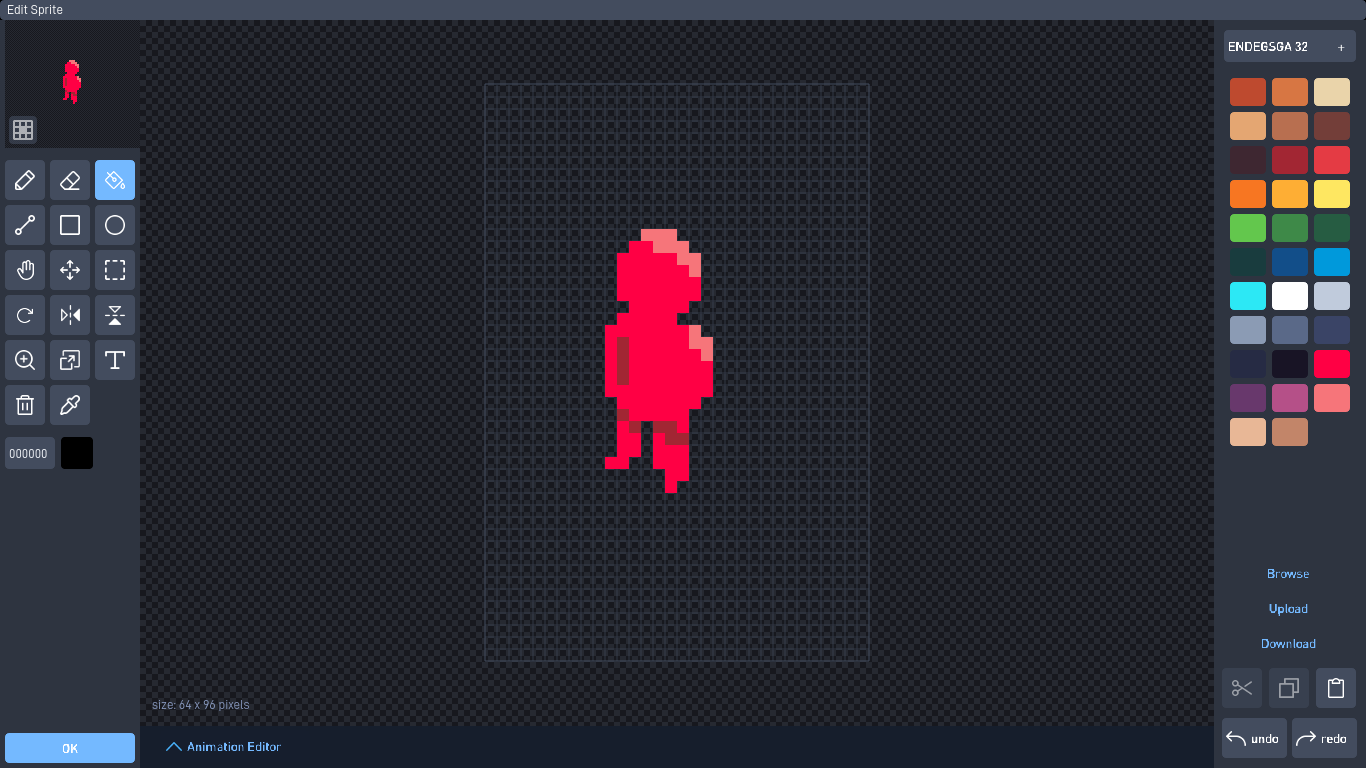
step 1: draw the silhouette in the largest pixel size you can
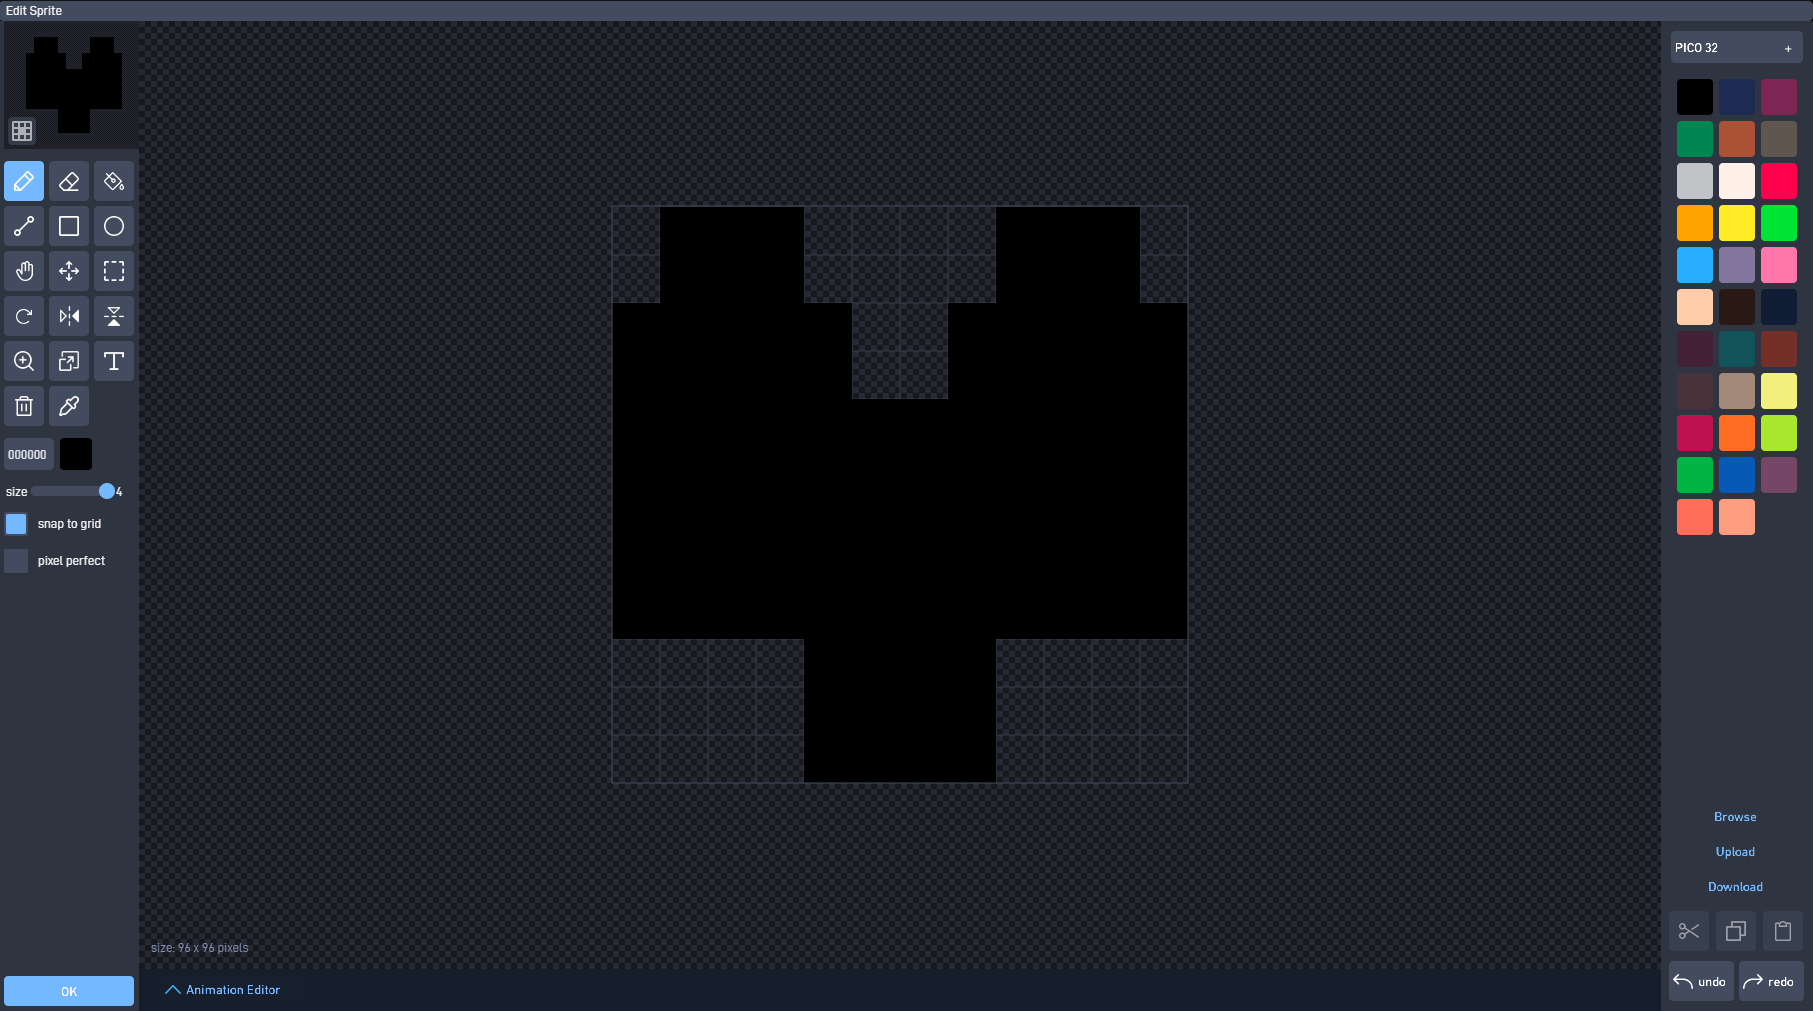
Make a black silhouette of whatever you’re making. Try to fit the shape of this “rough sketch” as much to your drawing or idea as you can. You don’t need to go detailed with this step, and you can lower the pixel size if you need to. But don’t exactly do so yet, because smaller sizes are needed for:
step 2: polish the silhouette
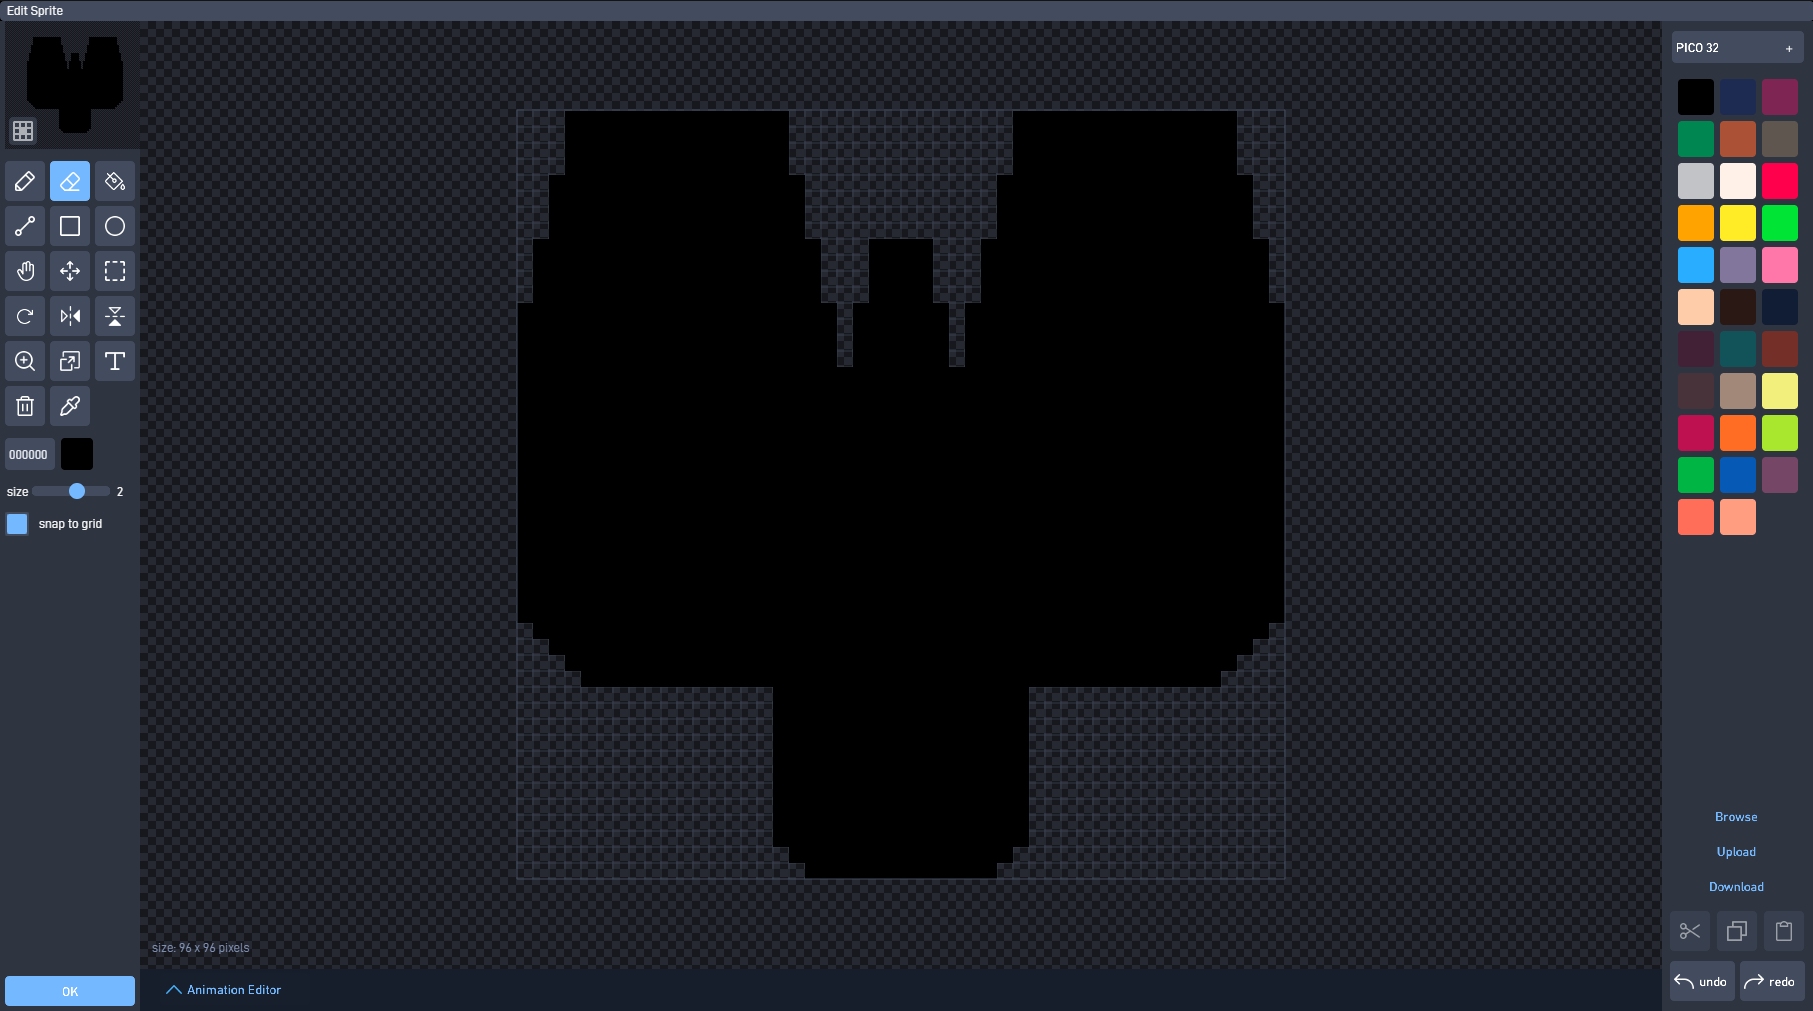
Set the pixel size to the one you actually want to draw in and brush out all edges. Make the shape as close to the drawing as you can. I prefer using the line tool for steps 1 and 2; I don’t place mistake pixels as often.
It is important to maintain the same pixel size throughout most if not all your game. Having a consistent artstyle is important for making a game that looks good.
step 3: do the rough coloring
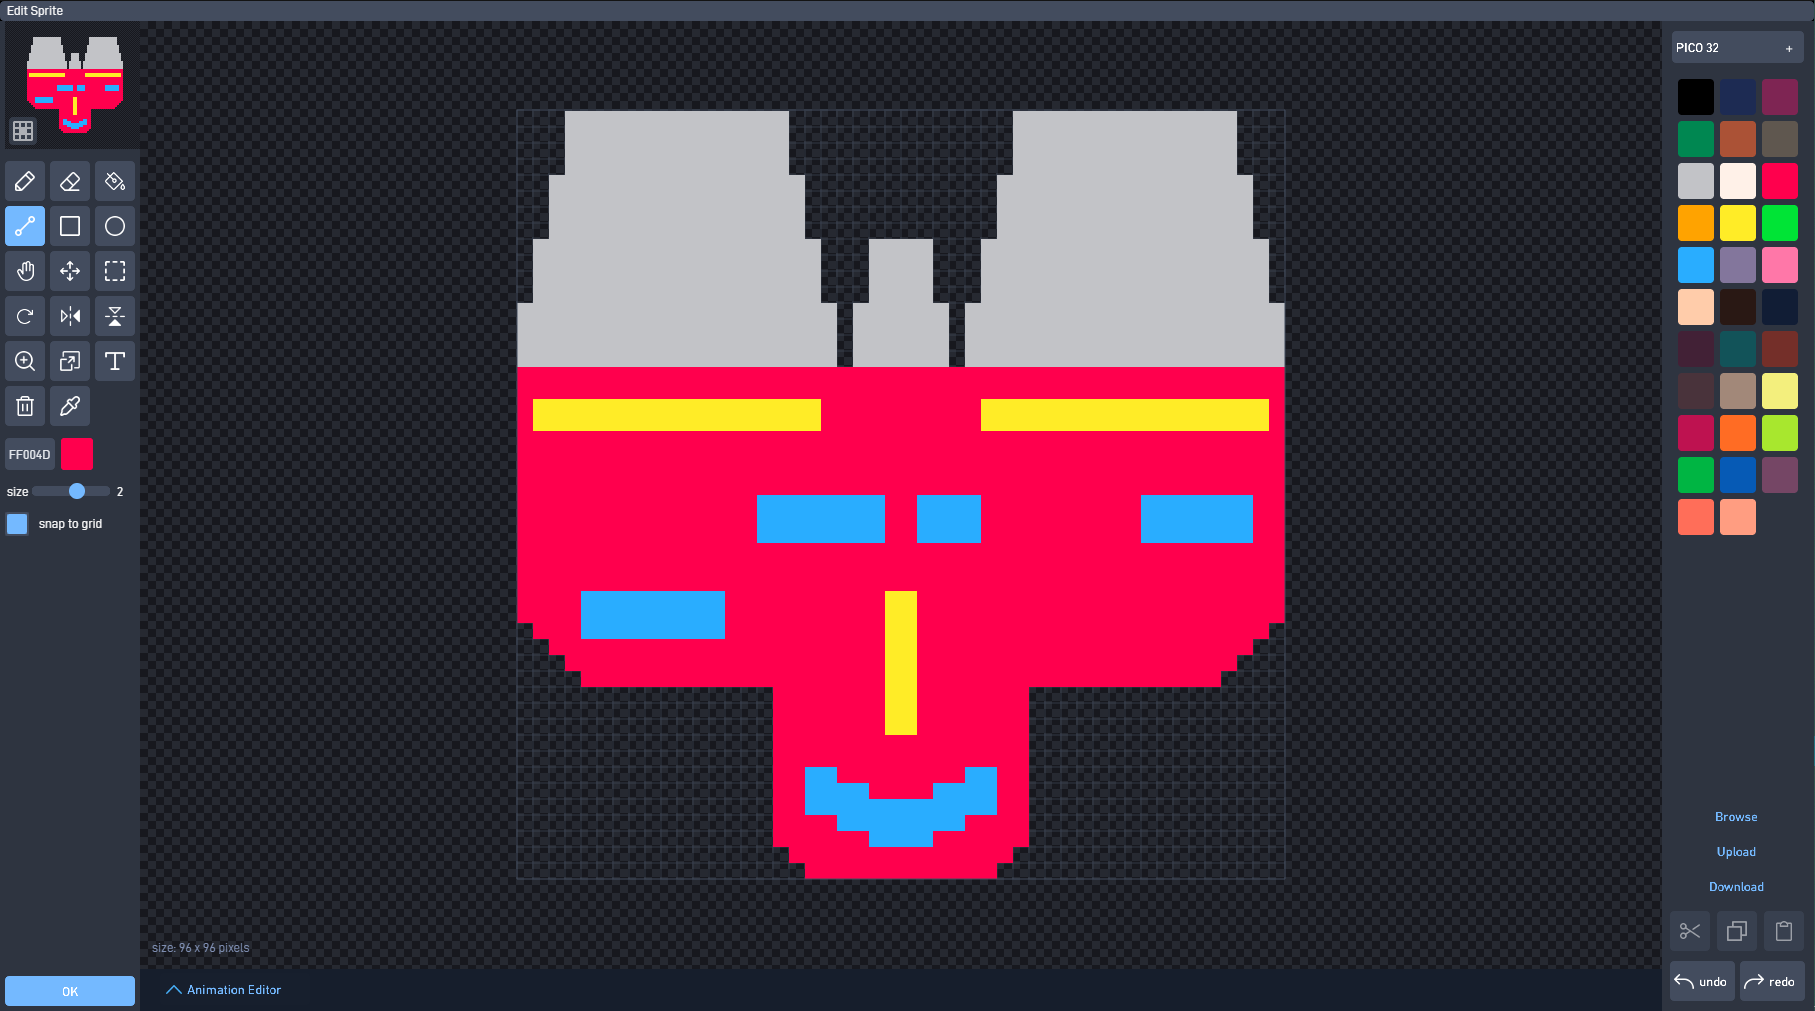
Draw in the most primitive colors you can; make it look like pac-man. This step is where you figure out where color and stuff goes. You can add essential details for later but try to only focus on the macro sized details.
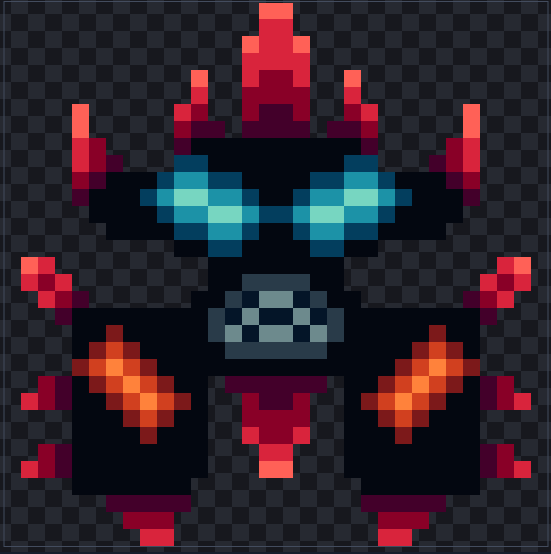
step 3.5: add details
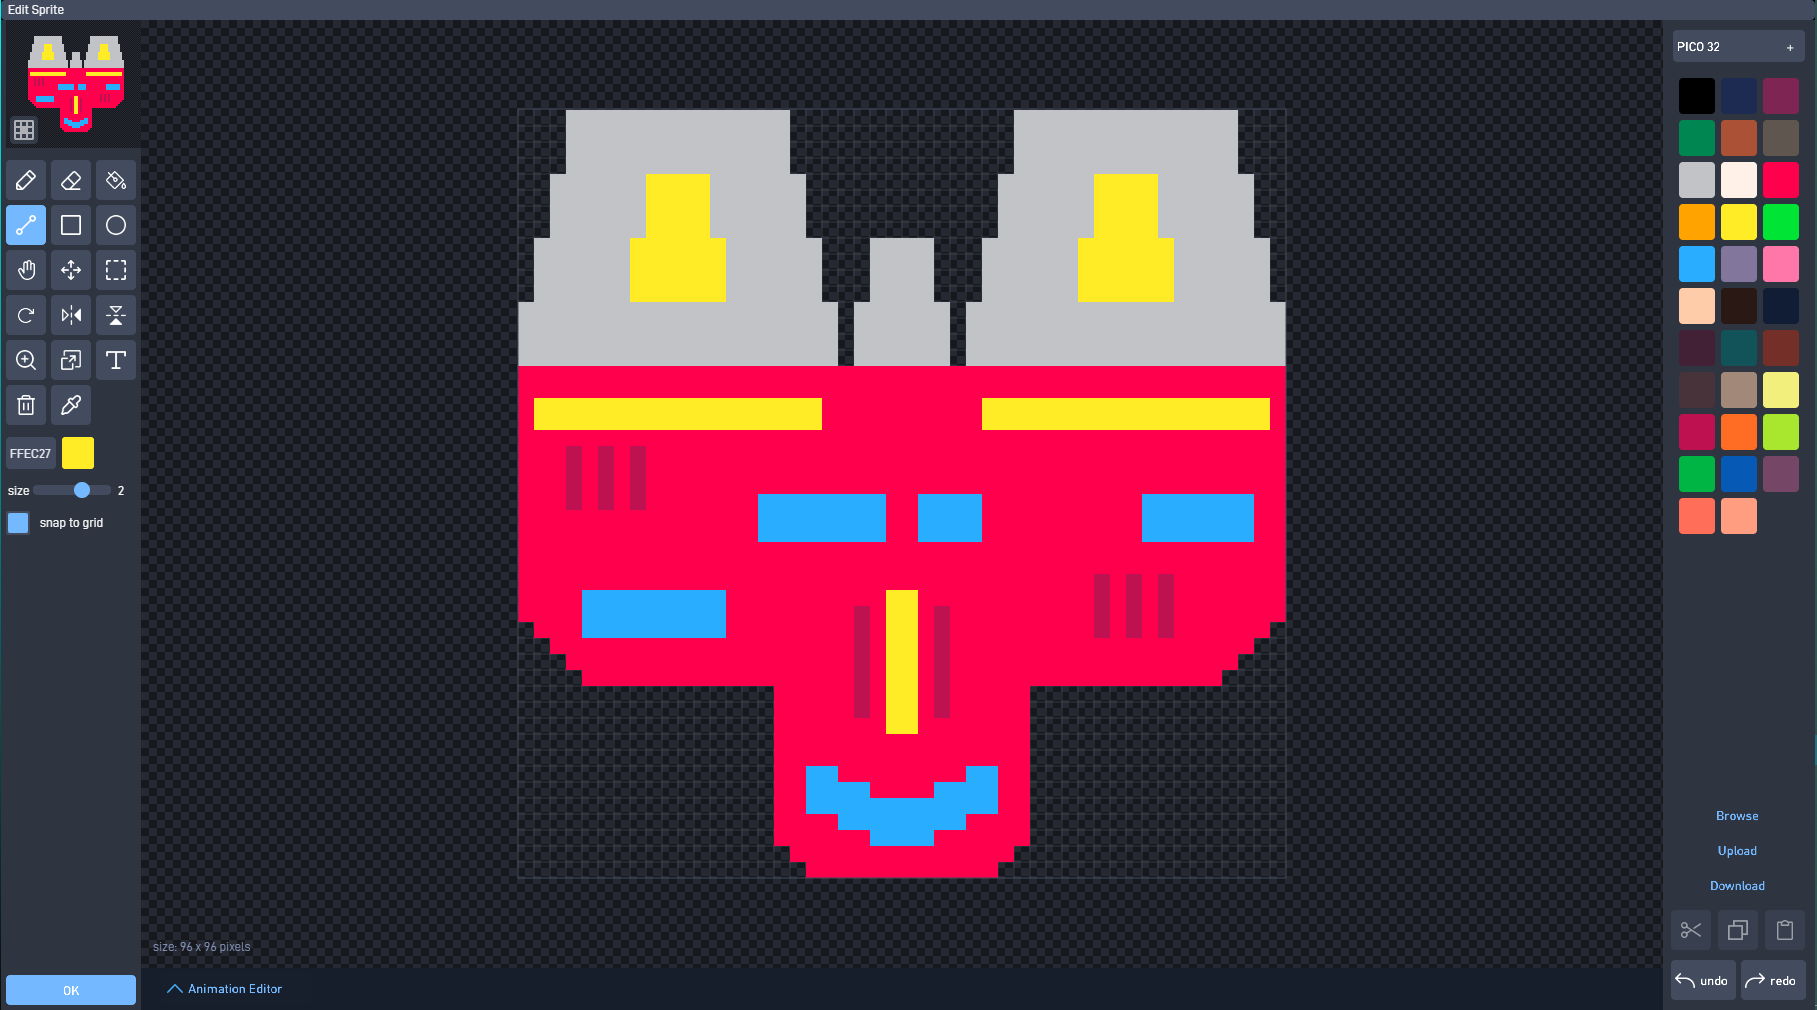
add the last large, visible details you want onto your sprite. I added some engine decor and vents, but you can do whatever you want for this step. Basically, add the “complexity” of your sprite here at this step.
IMPORTANT: I am using the pico 32 color palette for this and my entire game. I reccomend using a palette; it keeps your artstyle consistent. If you want to know how to make a good palette, there are many great tutorials on youtube, but in a nutshell my advice is to:
Make multiple shades of the same core colors. These shades should fade to “warmer” or “cooler” colors. It’s a little tricky to get right, but for example if you dash a little more blue into each lower light level of green and dash a little more yellow into each higher light level of green, it can make a much better looking effect than dragging the brightness up and down.
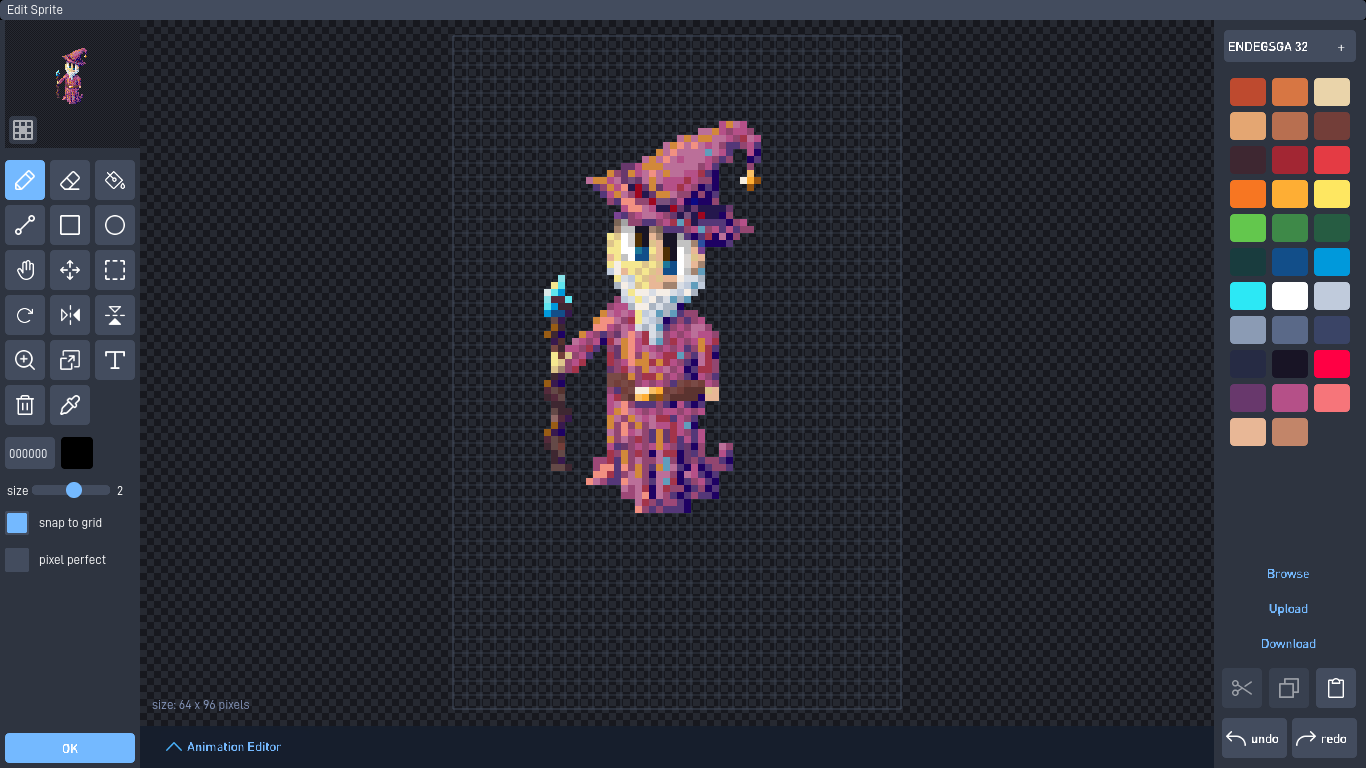
step 4: shading
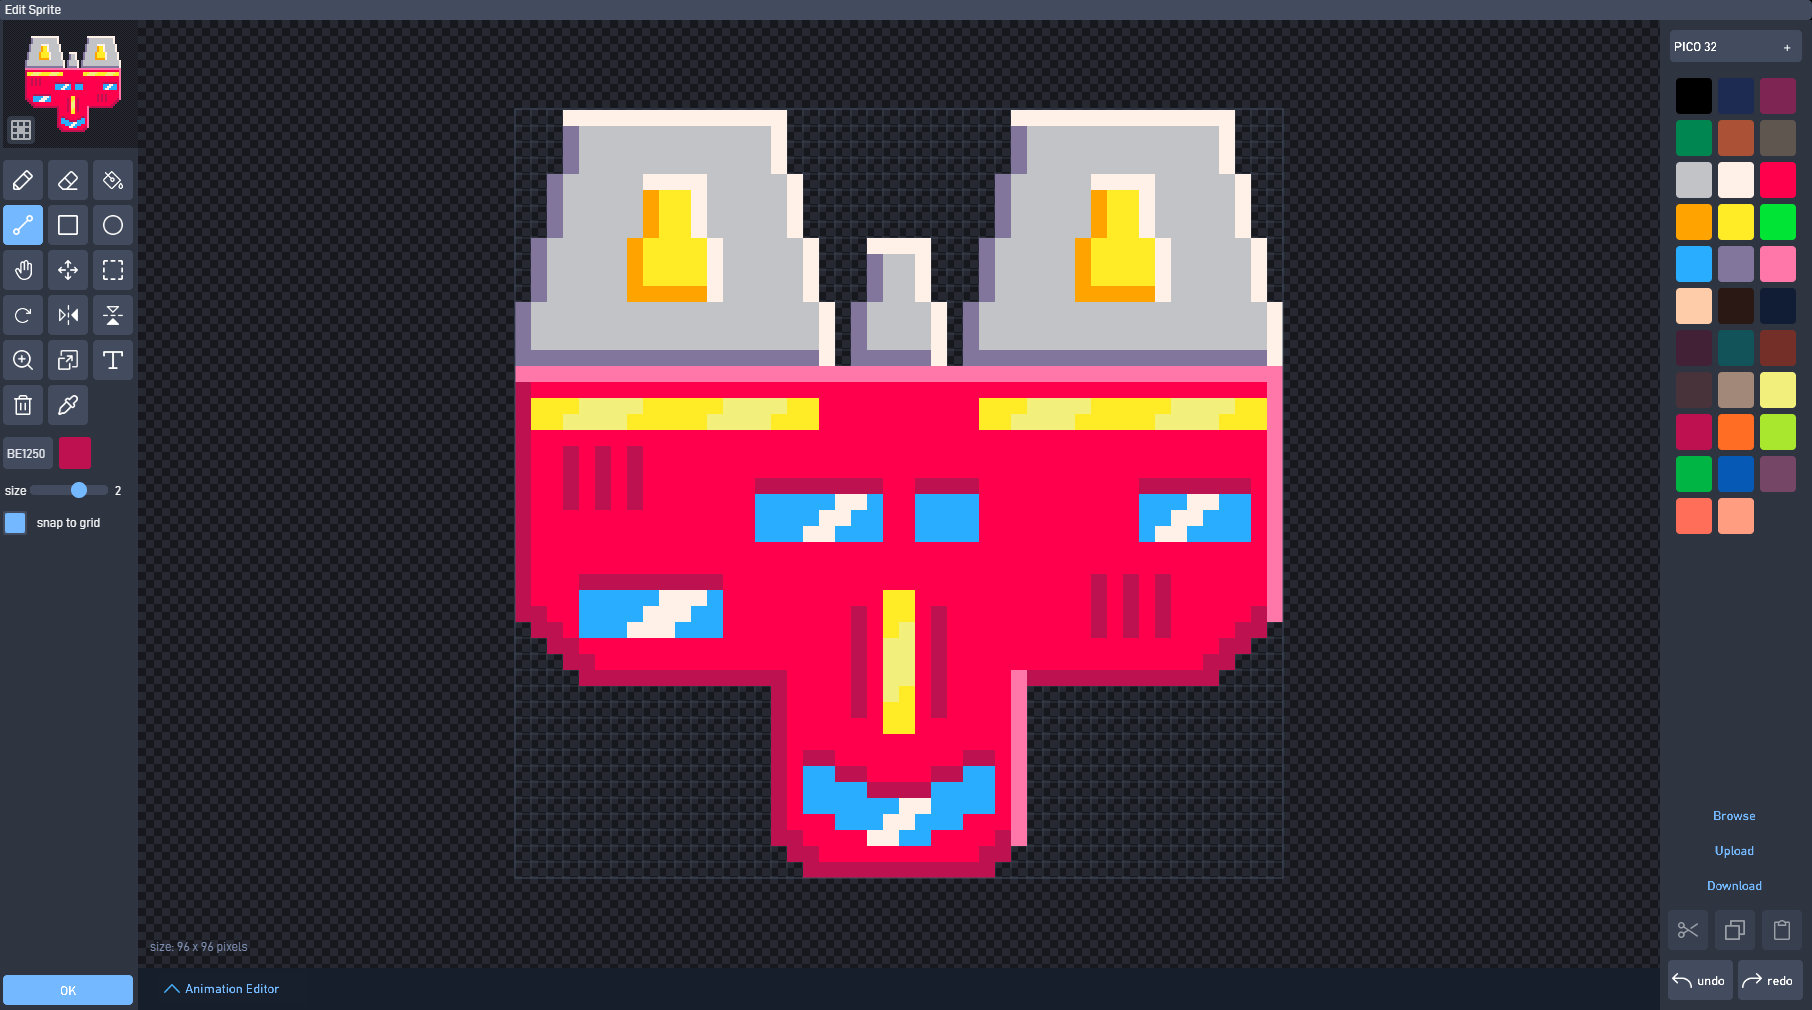
AAAHHHHH!! Yes, shading is scary but necessary in most cases. Use your palette’s lighter and darker colors to shade your creation; keep in mind where the light comes from. Does it come directly from the top? The top corner? the bottom corner? Take these into account when drawing shade lines to keep your shading from being confusing.
When shading bright colors of most kinds, feel free to use white to get an extra “shiny” feel to the object. Make the object dirtier by making the shade more subtle.
Also, experiment. While drawing, I wondered “what if I draw shade lines over the windows?” and it looked great so I kept it. Experiment A LOT. You’ll find some great tricks on your own.
Congratulations! You drew a thingy that doesn’t look [BLEEP][BLEEP]ing ugly!
closing notes
Thanks for reading through this tutorial! I hope it helped you out. This is of course how I draw my stuff and it won’t work for all games. Some additional things:
My sprites in my GALACDRIVE have black outlines. This is intentional; I paint the sprite and leave the very edge for the black outline. It contrasts real game objects between particles and effects.
Watch pixel tutorials! There’s more to learn than you think. Art seems abstract but is surprisingly easy.
Share your tips in the comments, or sprites you drew using my method! Art needs to be discussed as much as it’s practiced.
Thanks for reading my guide! Happy development.