So I made a bunch of objects for menus in the “game world” layer, but couldn’t get them to work right there. I asked an experienced Flowlab user, and he told me I should put them in the “user interface” layer instead, which… makes total sense.
Is there an easy way to move these objects from “game” layer to “interface” layer, or do I have to manually recreate them all?
Well sort of, there isn’t just a button that’ll do it automatically but there are ways to make it a bit faster.
You can copy and paste all of the code into a new object that was created in the UI layer, same goes for sprites, animations are a bit harder since you have to copy and past in each frame but it’s doable.
For code use the select tool, then select all of the code, after go into the new object then left click to open the popup, then you just need to click paste and then hit ctrl+v. press ok and the code should be there.
Alternatively, put everything in a bundle then save it to your tool bar under the behavior bundles tab.
For sprites there is a copy and paste tool, you can also download the sprite if you need it later.
You only need one of those, have them a parent object and when something is clicked on it sends a message turning on a switch. Instead of having a trillion different objects for it.
For the sprites, you can actually open up the “browse” tab, it’ll let you select a sprite that you already have on another object, not sure if it’ll be helpful since it only shortens the time pressing buttons.
DinoDev said something about parent objects, that could help.
I say “could” because I haven’t played with parent objects much so I have 0 experience with them.
You would need someone who knows about all of the obscure features in Flowlab but to my knowledge, you’re soooooo screwed.
LOL I already used the browse tab to copy the original sprites. The coding itself, each sprite is supposed to open a different menu. It took me about an hour just to copy paste and name each of those sprites individually though, without even adding code to them.
This is a long term project. The end goal being having 48 different purchasable vehicles, and each vehicle will have its own set of missions. So I already expect the demo alone to take at least a month to finish. I’m trying to find any shortcuts I can in the meantime though, to help shorten the development time.
The reason I have to have a trillion different objects is because each different button is meant to open up a different menu. But all on the same screen.
Example: you select to use the tank. Well, first you have to buy the tank. You have to click on the “buy” button and make sure you have enough money in your account to purchase it. Once you purchase it, the “buy” button for that object is supposed to turn into an “owned” button. Each vehicle also has a “specifications” button that shows that individual vehicle’s stats when you click on it. They can’t all be the same, because obviously an Abrams tank is going to have different stats than an F-35 Raptor or an aircraft carrier. So each one is going to have to have its own menus.
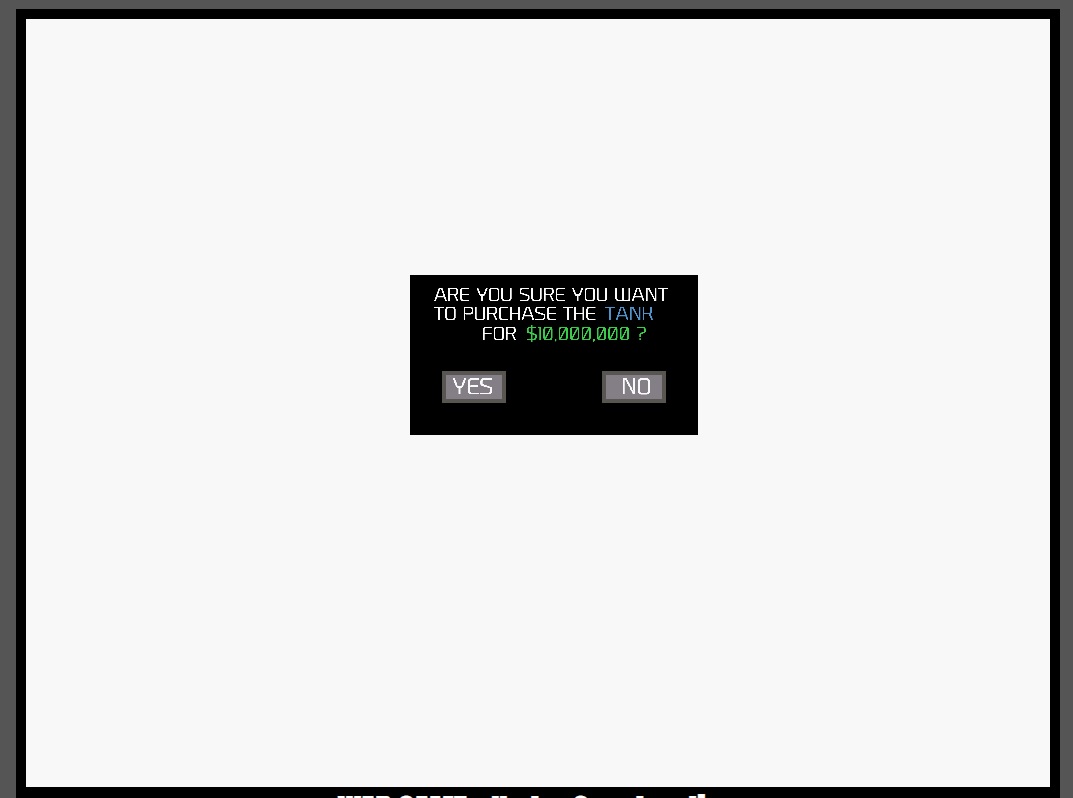
Then, once a vehicle is “unlocked”, you can click on the icon for the vehicle, and it should pop up a menu that says “are you sure you want to use the Osprey V/STOL?”… you click yes, and it takes you to the Osprey mission list. You click no, and it closes that menu and lets you select another vehicle.
Very ambitious project, I know. Which is why my demo version will probably only have maybe 6-12 playable vehicles in it. But I want the “final” finished game to have all of the vehicles and stat menus available. I figure I can lay the groundwork in the demo version, then clone the demo and add the other stuff later in a “full” version.
Well you could have the same button but switch the values of the button to make it select different options, if that makes any sense.
This way all you have to do is change a single value in the button object.
Basically, for your buy button if the value is equal to 1 it’ll set a global value to 1 which indicates that “vehicle A” has been bought, then when you select another vehicle the value is set to 2 and it changes the global value that represents a different vehicle, in this case “vehicle B”.
If you do it like that you can only have a single object for one button, the internal value of the button will go into a filter which will sort the different values to do different things.
I’m not sure if that made any sense or not, I kind of just came up with it on the spot so it might not be very clear.
It might actually be best to start over and make a bit more compact code so that when you do eventually make the full game you have a reliable system that you can easily add more vehicles.
That does make sense, yes. I haven’t gotten that far into the game yet.
Pretty much, my “headcanon” for the game is 99% complete. I’ve already envisioned the entire game in my mind. The coding itself is the only part that I struggle with. Once I know how to make something work, I can reproduce it a thousand times and edit each one individually, no problem. Takes some time, yes, but I don’t mind spending a few minutes creating individual menus for each option.
Where I get stuck is figuring out how to make the menu work in the first place. I should have asked that instead. The first bit of advice I got on that is to put the menus in the interface layer instead of the game layer, and that was after I had already made all the clickable buttons in the game layer.
I was hoping there was an easy way to save myself another couple hours of tedious work, but… eh, live and learn.
My general experience using Flowlab has been that it can take me several hours to learn how to make something work. Once I know how to make it work, I can reproduce it in less than 5 minutes.
If you have problem with menus there are a few things I can say.
For different menu screens you can make different screens in the same level and just move the camera, that way you don’t have to make things overlap each other and you don’t need to code as much.
For pop ups you can also make background objects that look like the previous screen, this way when you teleport the camera it looks like a seamless transition. It makes sure that the player can’t click anything in the background and you don’t need make more code to make the buttons appear.
Also, just from a design view point, try to keep everything simple, sometimes people try to fit a lot of info into one screen or clutter everything with buttons and text.
This is one of the big issues I worry about… as I understand it, the alpha only affects visibility of the objects. But if the object is clickable, someone could still accidentally click on it…?
I just want the player to be able to see their full available arsenal on one page. I suppose I could split them into separate pages (levels) for land, sea, and air?
I also wanted the specs to be viewable for the player when they’re deciding which vehicle they want to purchase next.
As you said, the Alpha behavior only affects the visibility but it doesn’t affect it’s collision.
Basically it’s still collideable, the MouseClick behavior only activates if the object is collidable or not, the Enable behavior can turn it on or off. (You can find it in the Properties tab)
Edit: Neverminded, just tested it out, doesn’t work. Really shows how good I am as a developer, doesn’t it… instead you would just use a Switch behavior at the beginning and send a message to the button to flip the Switch behavior off.
–
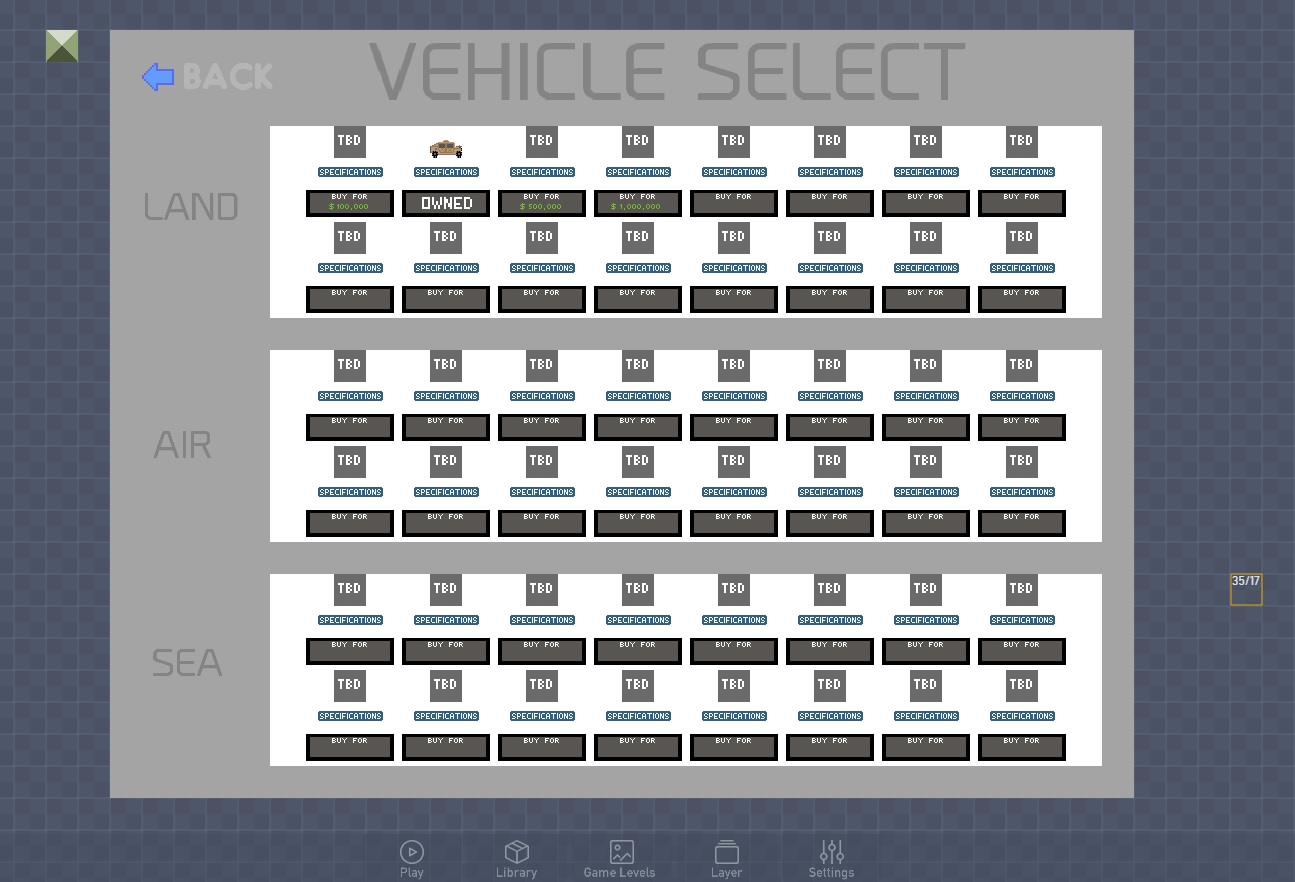
Now that I see the menu, it’s not that bad, you’ve sorted them into different categories so they seam good.
There isn’t anything that’s necessarily bad, everything is still visible and clear enough to see everything perfectly fine so you should be able to get away with it.
Although maybe it just me but the text does seam really small, the prices are in a light desaturated green on a grey background, personally I would get rid of the “buy for” text and give the price a yellow or white outline to make it stand out more, other than the small text everything looks good.
I think you could get away with making a different page for each vehicle, then you would just be left with the preview of the vehicle and then when the player clicks on it, then you can have the specs be on one side of the screen and the other things you need to know about it on the other screen. That way the text won’t bee as small.
Just a suggestion, remember that I am in no means qualified to be taking about any of this so some of the things I’m saying could be complete nonsense and totally incorrect.
Overall I think it’s fine for you to leave it as it is, although it could use a border or two to keep each category sperate and a upscale with the text.
I’m making the game on a fairly large monitor, so it’s all readable to me. But I failed to take into consideration that people might be playing on smaller screens…
Basically I want my popup menus to look something like this for the purchase:
But I’m thinking you guys might be right, I should use larger text and separate them into different levels. That would also make the coding easier for me.
If you do make them into different levels I would get rid of the specs button and make it when you press buy it also shows the specs on the side or somewhere because the buy button as a lot of empty space and making that many levels will clutter things up.
I’m thinking I’ll probably actually put the vehicle purchase stuff on hold for now, and just make a demo version with the starting default vehicle, as the project is becoming bigger than I originally thought it would be (ironic, because this was actually supposed to be one of my “simpler” games)…
I’ll probably just make like 10 playable levels for the default vehicle, and work on the rest later as separate installments to the game.

 So each one is going to have to have its own menus.